

Part 1: Managing Addresses as a Customer
PrerequisitesBefore a customer can manage addresses, an admin must have:
- Added the Address Management link to the Customer Account menu (see Installing the Address Book App → Step 4).
- Enabled the Address Management extension on the Customer Account page.
Accessing Address Management
- Log in to your Customer Account.
- From the account menu, select Address Management.
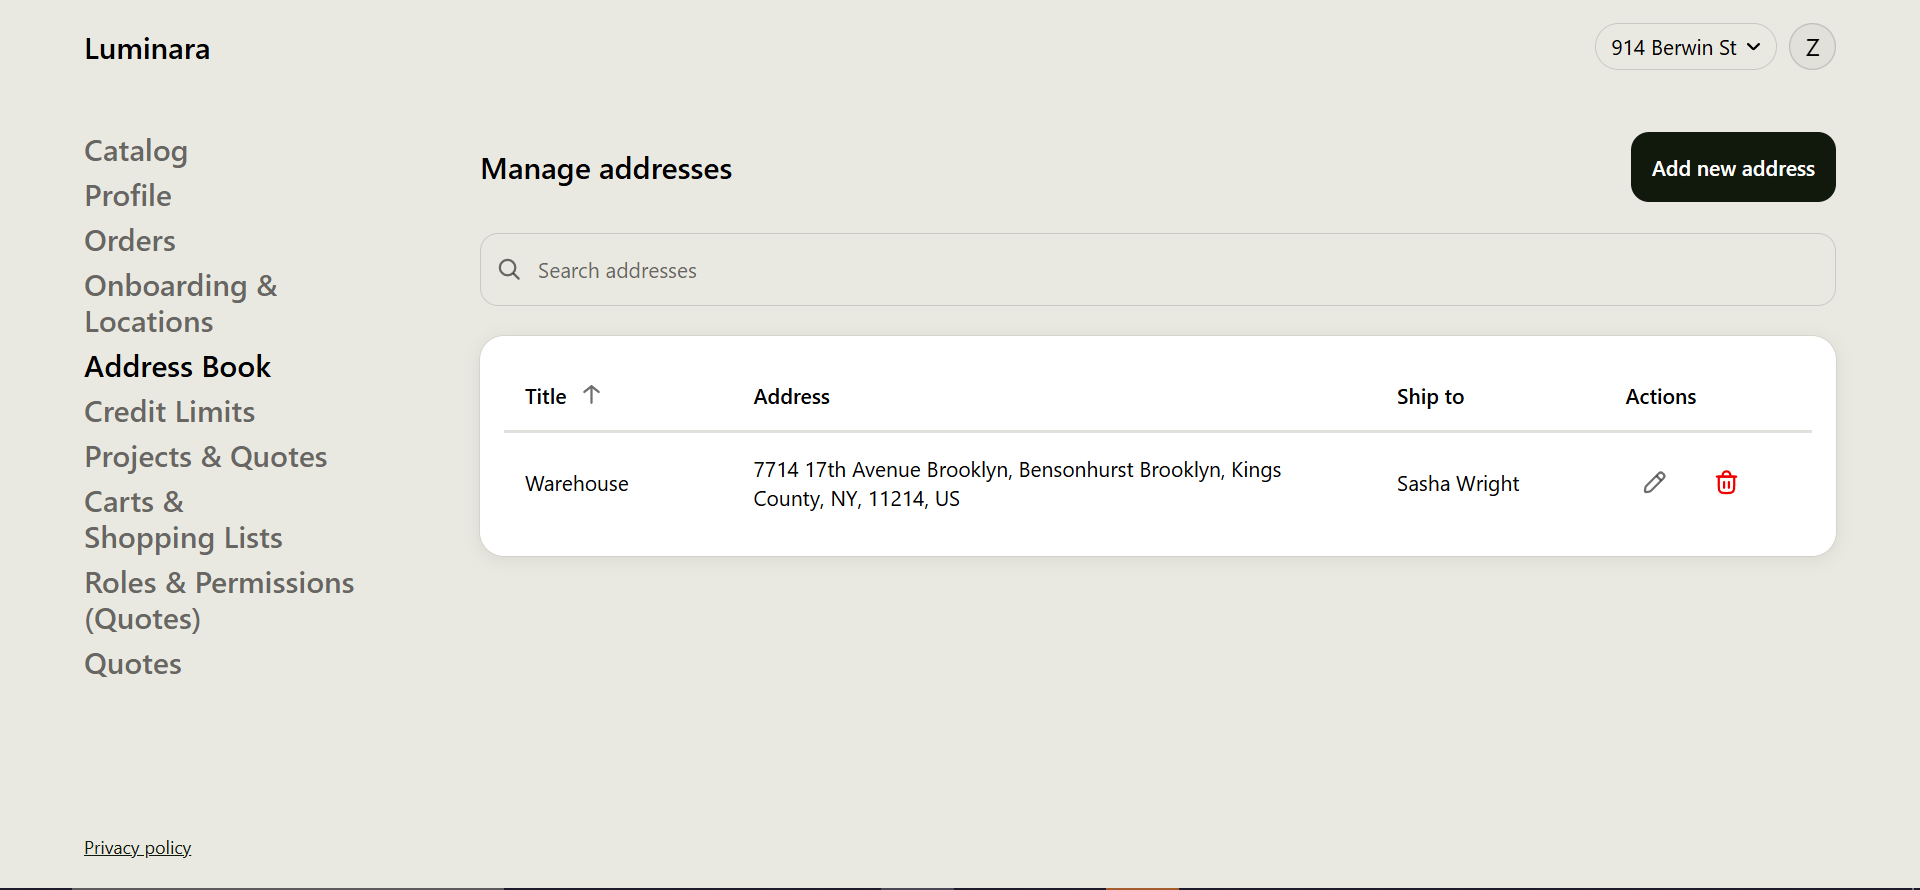
- All addresses saved to your company location will be listed here.
- Adding a New Address
- Click Add new address.
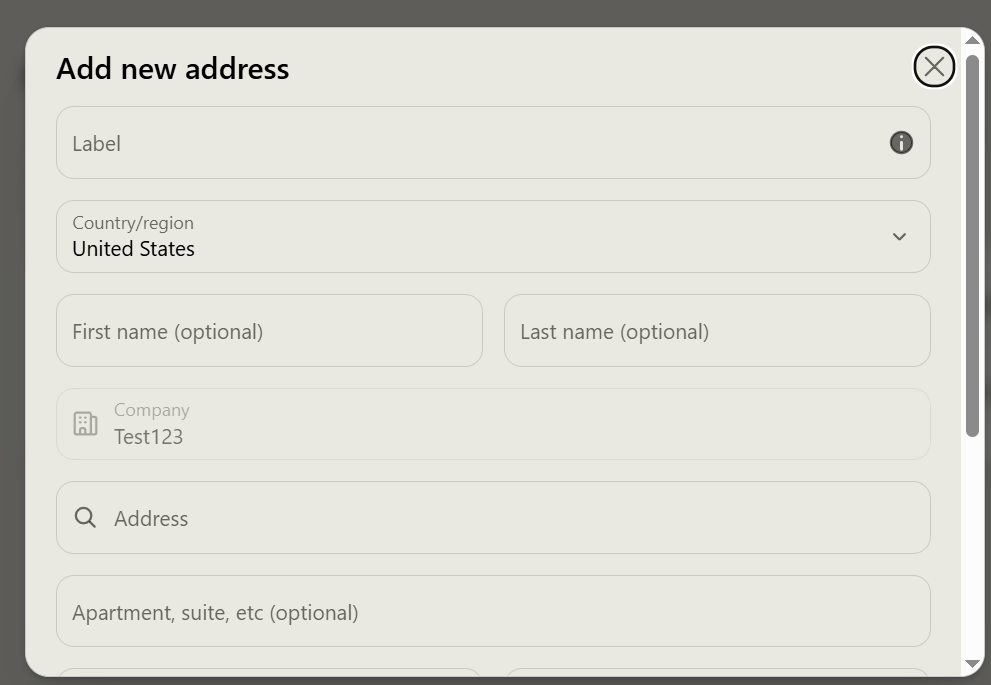
- Fill in the required fields: Label (e.g., “Warehouse,” “Main Office”) Address City Zip Code
- Click Save.
Editing an Address
- Find the address you want to update in the list.
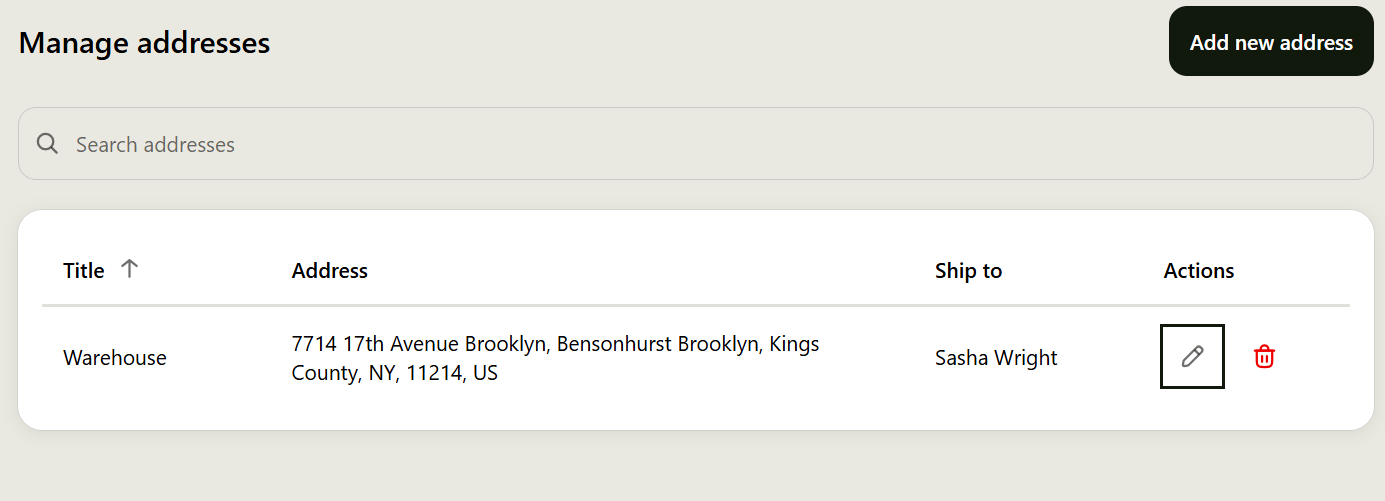
- Click the pencil (edit) icon next to it.
- Update the necessary fields.
- Click Save to apply your changes.
Deleting an Address
- Find the address you want to remove in the list.
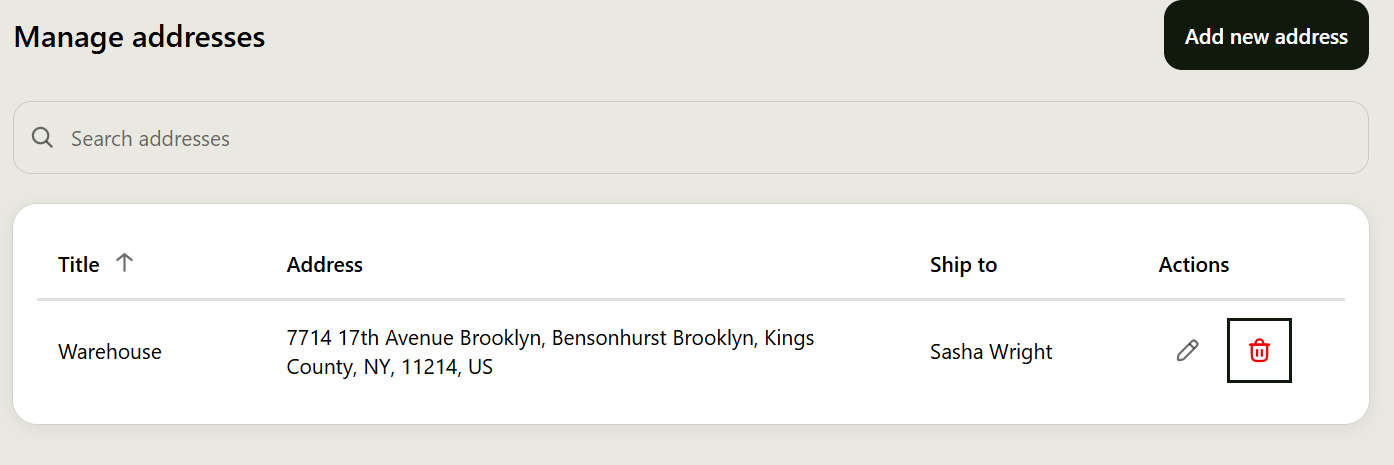
- Click the trash can (delete) icon next to it.
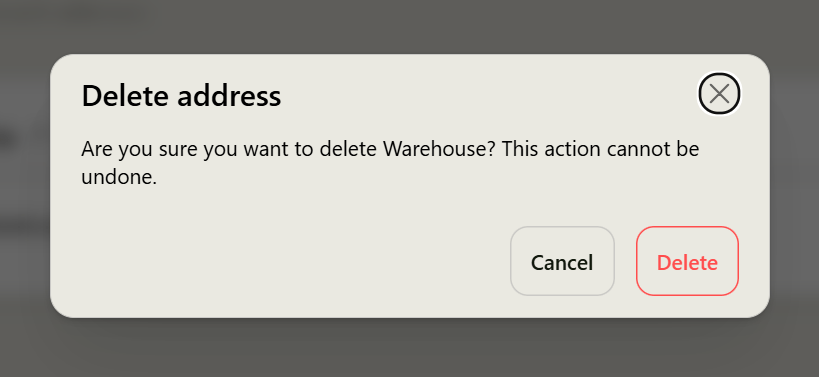
- Confirm the deletion when prompted.
Part 2: Managing Addresses as an Admin
Admins can add, edit, or delete a company location’s additional addresses directly from Shopify Admin, using the Additional Addresses block installed on the Company Location Details page (see Installing the Address Book App → Step 2).- Navigating to a Company Location
- In Shopify Admin, go to Customers.
- Select Companies.
- On the Companies list, click the company you want to manage .
- On the company’s page, scroll down to the Locations section and click the specific location you want to manage.
- This opens the Location Details page, which includes shipping/billing address, payment methods, tax details, and the Additional Addresses block.
Adding a New Address
- On the Location Details page, find the Additional Addresses block.
- Click Add address.
- Fill in the address details.
- Click Save.
- The address is now available to the company at checkout and in the customer’s Address Management page.
Editing an Address
- In the Additional Addresses block, use Search addresses to find the address if needed.
- Click the pencil (edit) icon next to the address.
- Update the necessary fields.
- Click Save.
Deleting an Address
- In the Additional Addresses block, locate the address you want to remove.
- Click the trash can (delete) icon next to it.
- Confirm the deletion when prompted.