

Overview
Once the Projects setup is complete:- When customers add products to their cart, the Project Extension will automatically manage and save their carts.
- In the Customer Account, a new dashboard on a Page (titled using the label you entered, e.g., “Saved Carts”) will appear, giving users access to saved cart features.
- View and manage saved carts as Projects
- Create and assign roles
- Set custom permissions
Managing Roles and Permissions
To configure roles and permissions:- Log in as the Main Contact of the company. As the Main Contact will have the permissions to Manage Project and Quotes, Create Roles and Permissions to Company users from the Dashboard.
-
Go to the page where you have embed the Project & Quotes Extension, on the dashboard you’ll find three tabs:
- Projects
- Manage Roles
- Quotes
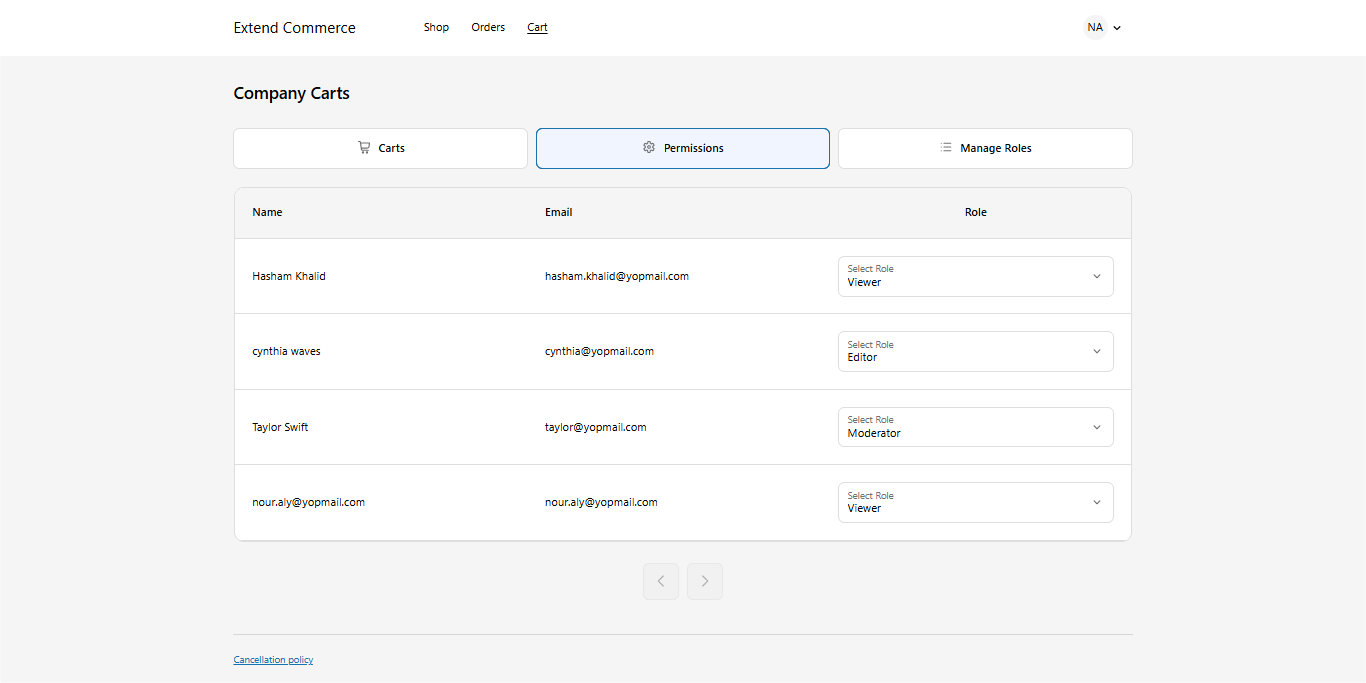
Manage Roles
- In the Manage Roles tab, assign roles to company users.
-
By default, the following roles are available (note: these are editable and not permanent):
- Viewer
- Editor
- Checkout Manager
- Approver
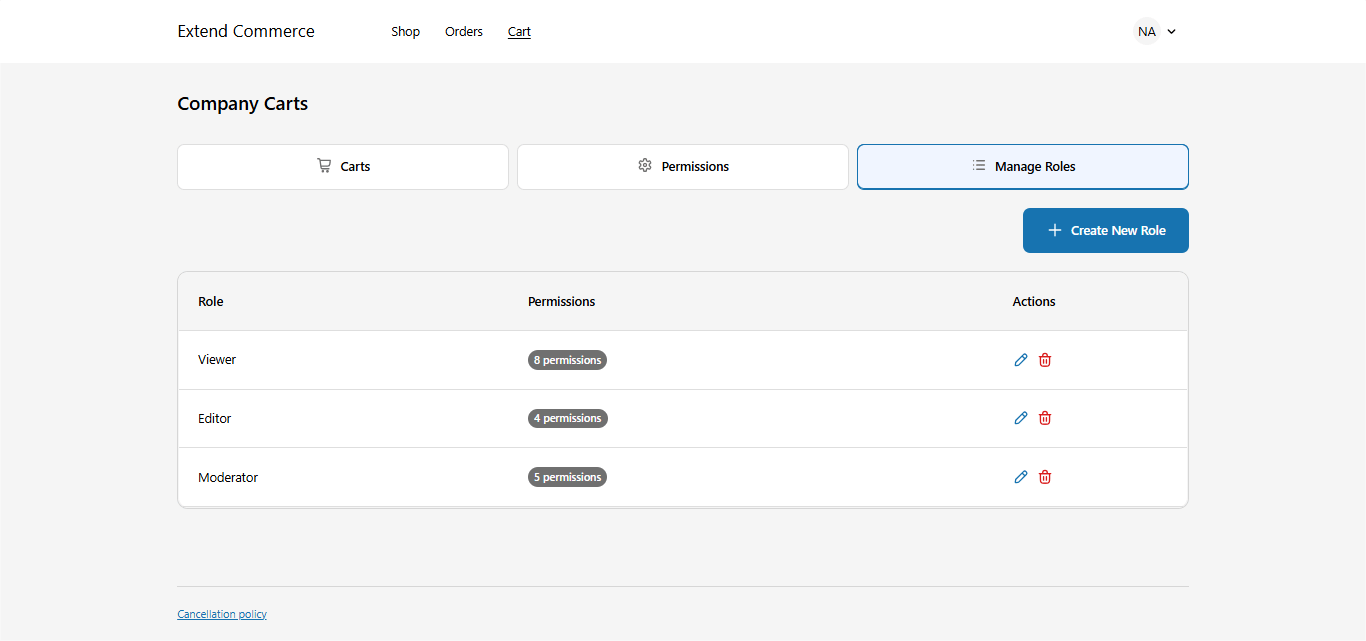
Manage Permissions
- In the Manage Permissions tab, click Edit next to any role to modify its permissions.
-
To create a new role:
- Click Create New Role.
- Enter the Role Title.
- Assign permissions as needed.
- Click Create to save the role.
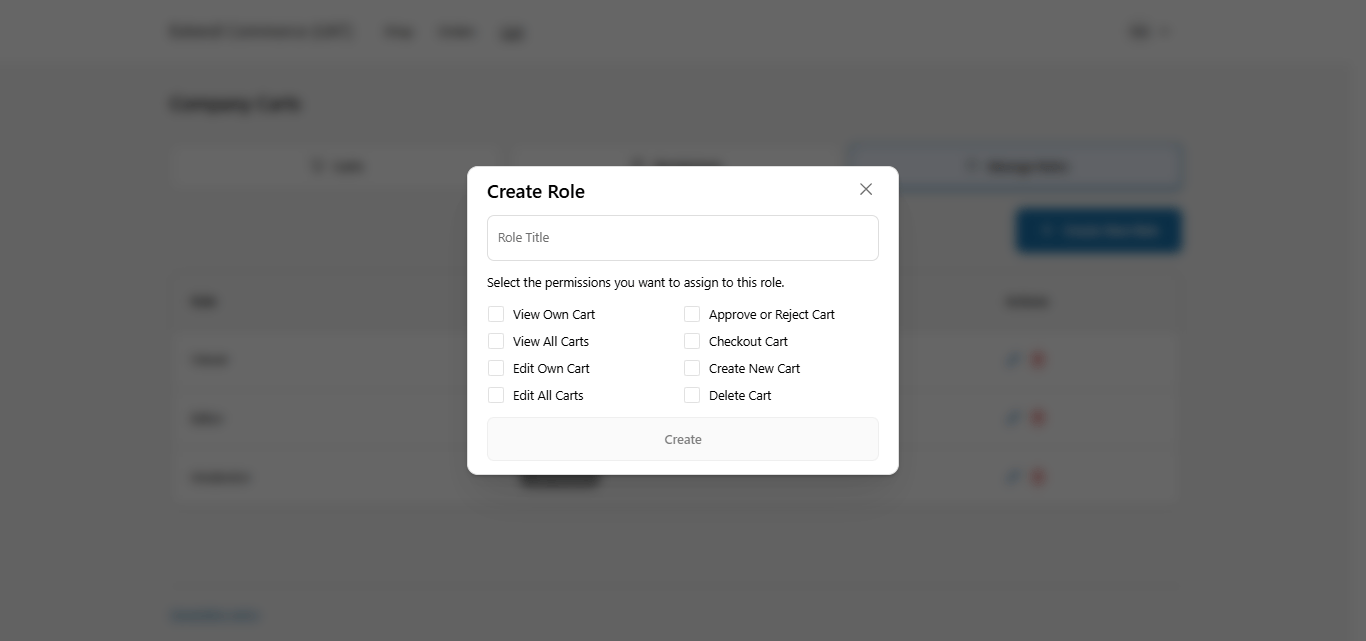
Project Permissions Overview
This table outlines the available permissions that can be assigned to users for managing saved projects within the Multi-Cart system. | Permission | Description | | --- | --- | | Create Own Cart | Allows the user to create and save a new cart. | | View All Carts | Grants access to view all carts created by any user within the company location they have access to. | | View Own Cart | Allows the user to view carts they have created themselves. | | Edit Own Cart | Allows the user to modify the contents or details of carts they created. | | Edit All Carts | Allows editing of all carts, regardless of who created them. | | Approve or Reject Cart | Enables the user to approve or reject carts for checkout. | | Checkout Cart | Grants permission to proceed to checkout with a saved cart. | | Delete Cart | Allows the user to permanently remove any saved cart. |Creating and Saving a Project
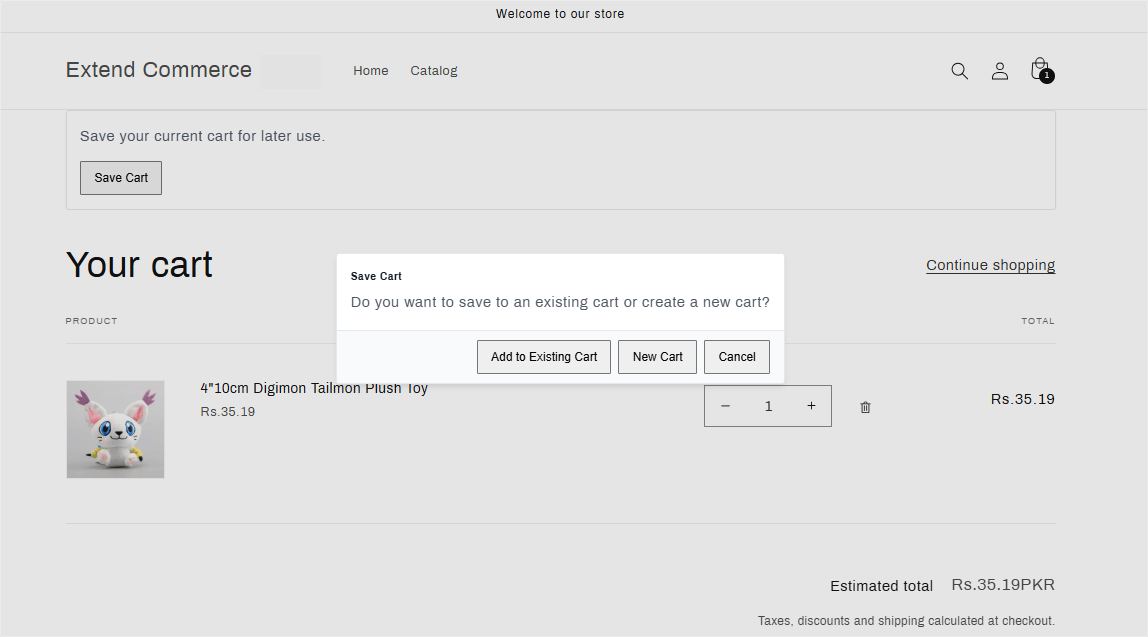
Once users log in to the storefront, they will see a “Save Project” button on the Cart page (powered by the Cart Controls extension) and allows users to save their current cart for later use.- Click the “Save Cart” button on the Cart page.
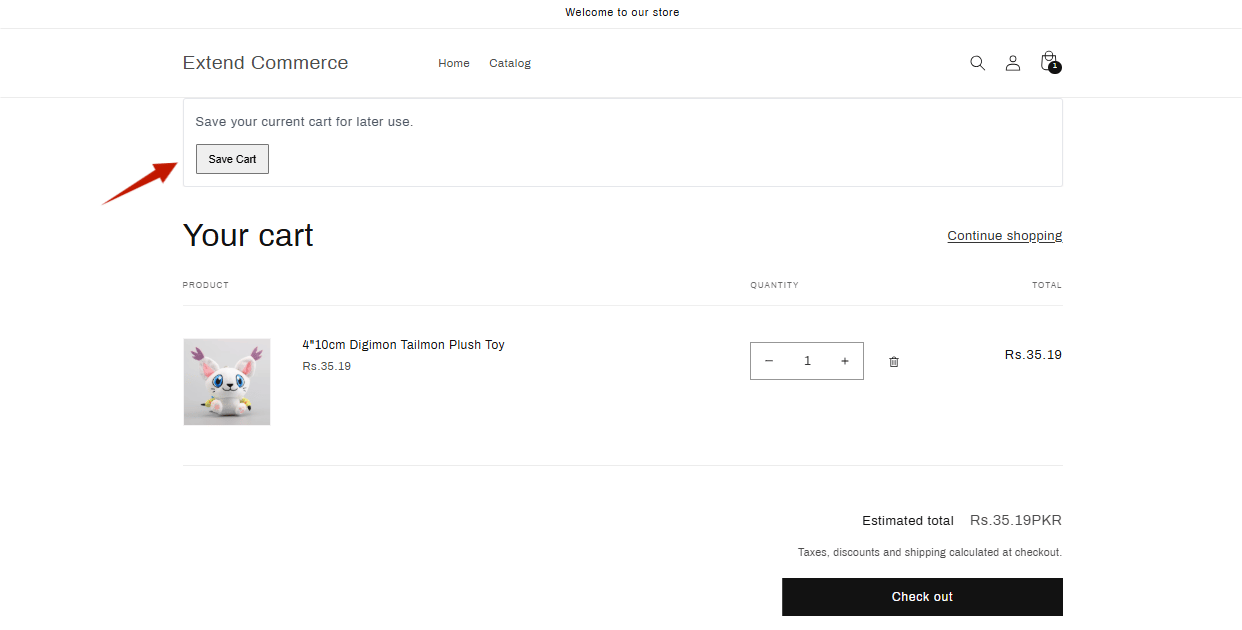
-
A pop-up will appear with two options:
-
New Cart
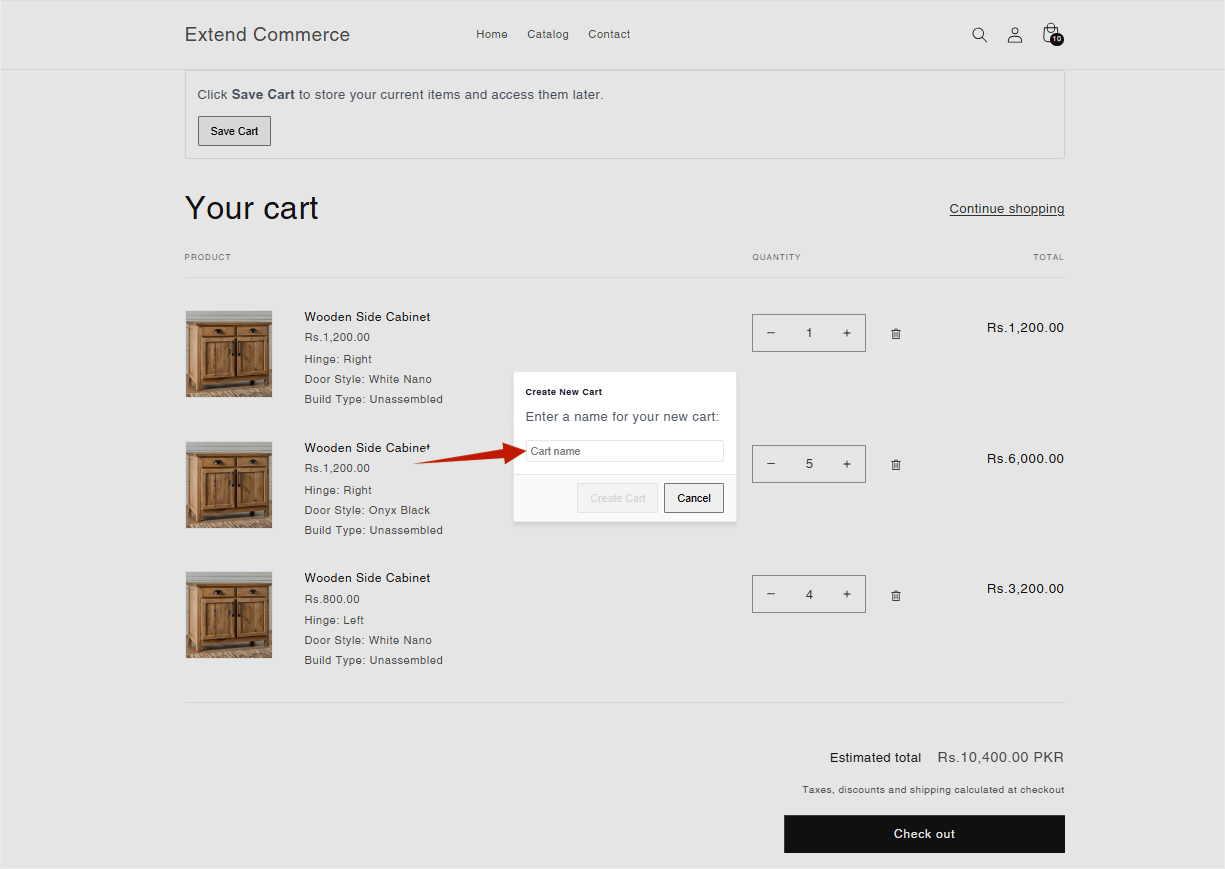
Select this option to create a brand-new saved cart.- Enter a preferred name for the new cart.
- Click Save to store it.
-
New Cart
-
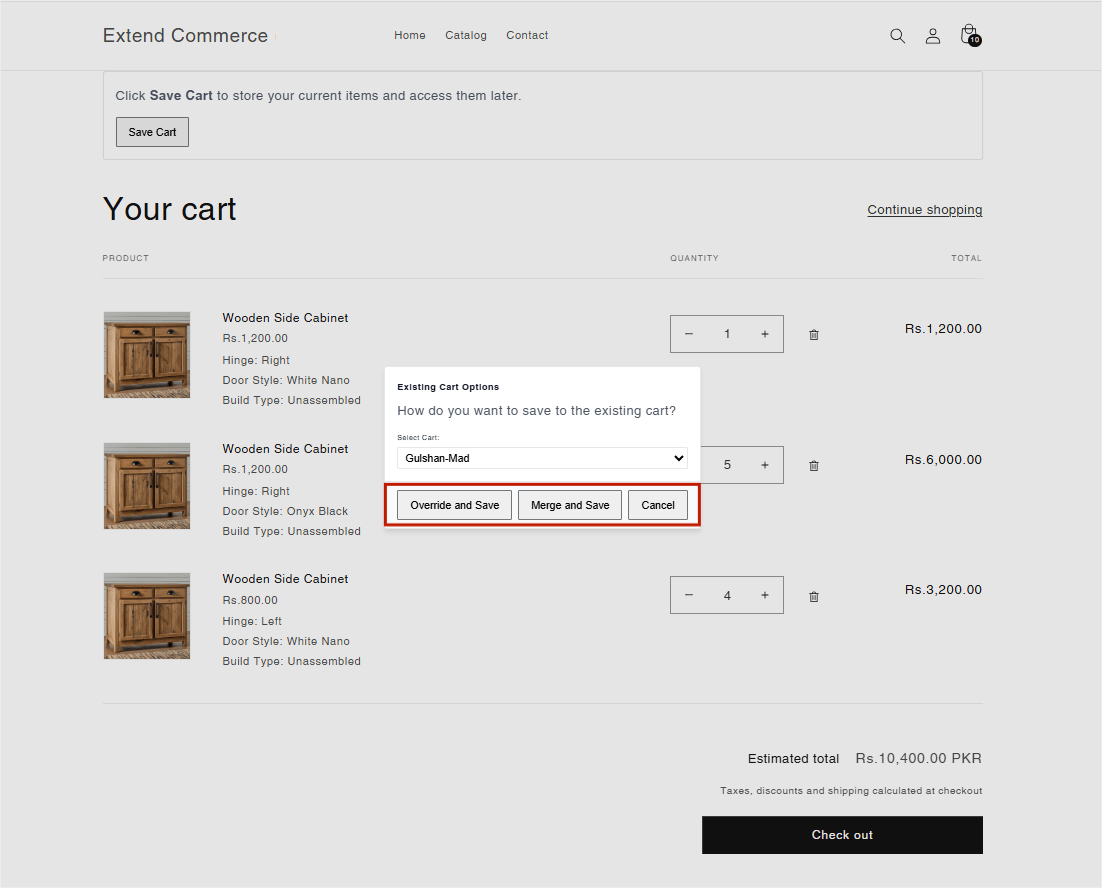
Add to Existing Cart
Choose this if you want to add the current cart items to an already saved cart.- Select the target cart from the dropdown list.
-
Choose one of the following options:
- Merge and Save – Adds the new items to the selected saved cart without removing the existing ones.
- Override and Save – Replaces the contents of the selected saved cart with the current cart items.
- After saving a cart, a confirmation notification will appear indicating that the cart has been successfully saved.
Accessing Saved Carts
- Navigate to your Customer Account.
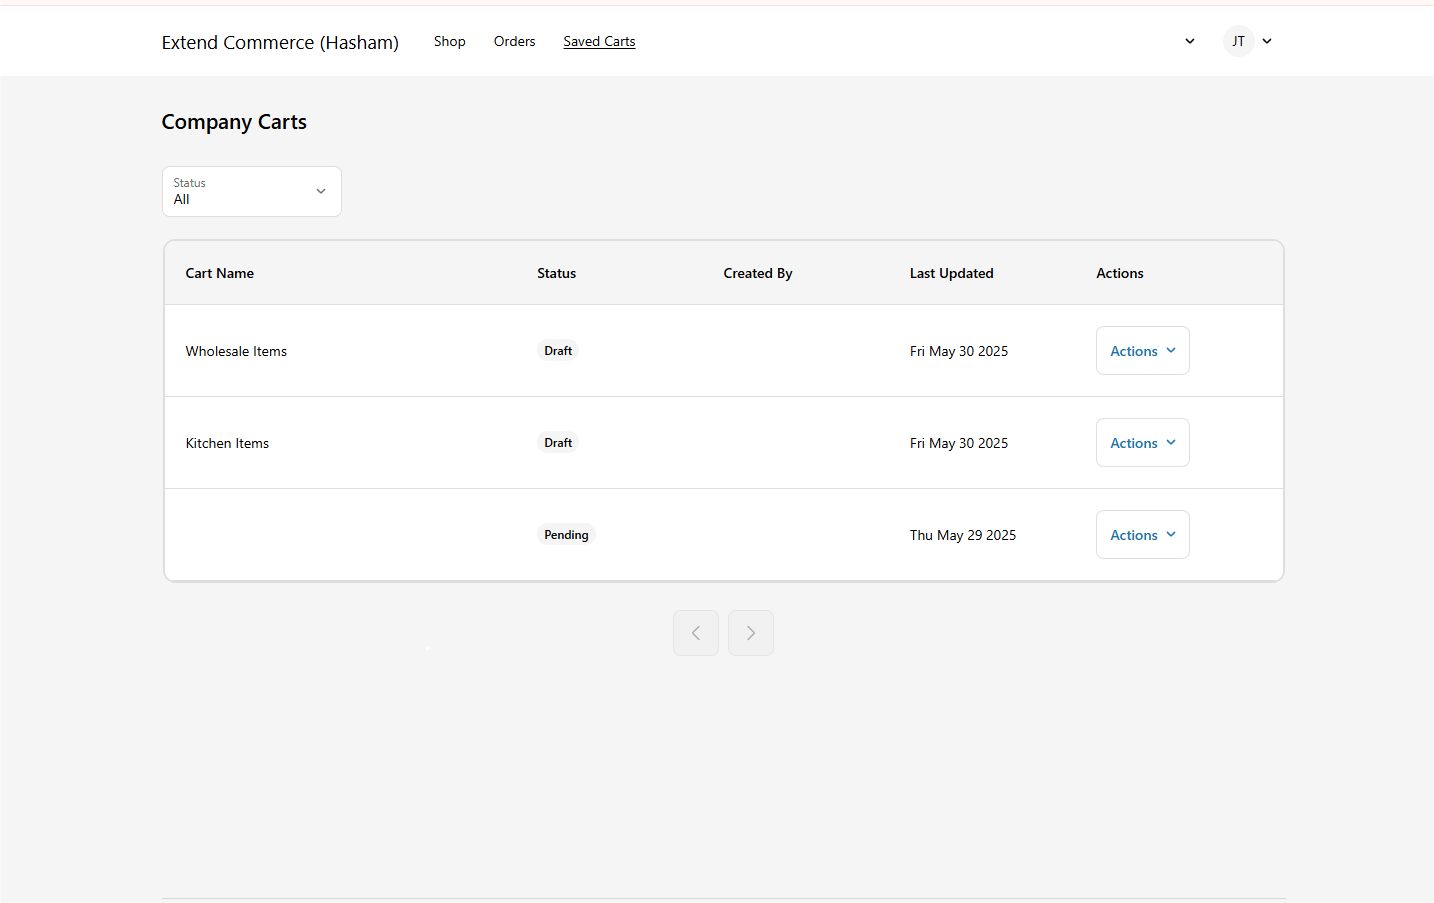
- A new page will be visible in the account menu — titled based on the label you provided earlier (e.g., “Saved Carts”).
-
On this page, users will see a list of their saved carts or other’s carts, but only if:
- They have been assigned a role.
- Their role includes permission to view carts.
- View saved carts
- Create new carts
- Modify or delete existing carts
- Share carts with others